Lighting Design for Vancouver Homes: A Designer's Room-by-Room Guide
Good lighting design layers three types of light in every room - ambient, task, and accent - rather than relying on a single overhead fixture.
In Vancouver, where we get roughly 85% of our annual rain between October and April, this matters more than almost anywhere else: your lighting plan is doing real work for a good chunk of the year, not just setting a mood after dark.
Most homes I walk into have one problem in common: a single ceiling fixture or a scattering of pot lights, and nothing else.
That's not a lighting plan; that's a default.
Here's how to actually think about light room by room.
The Three Layers, Explained Simply
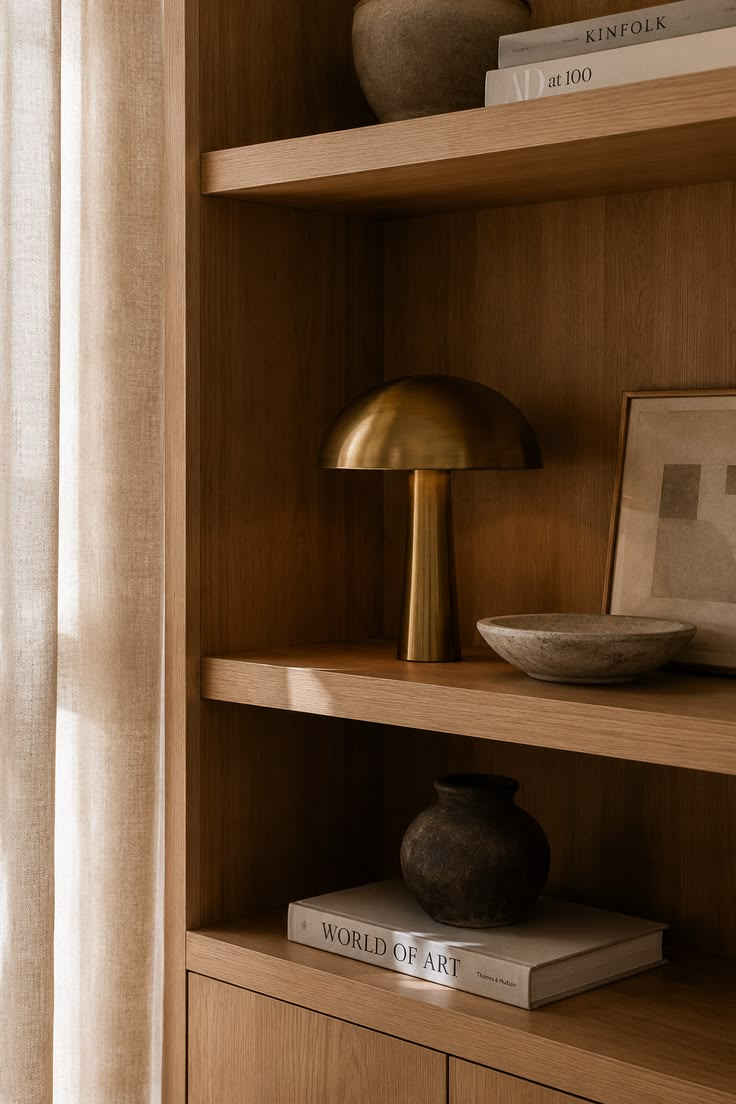
Ambient light is your base - the overall glow that lets you safely move through a room.
In most Vancouver homes this is ceiling-mounted: pot lights, a flush mount, or a central fixture. It should never be your only light source, but it's the foundation everything else sits on top of.
Task light is functional - the light you need to actually do something. Under-cabinet lighting in a kitchen, a reading lamp beside a chair, a vanity light at a bathroom mirror. Task lighting fails constantly in Vancouver homes because it gets treated as decorative instead of purposeful; a beautiful pendant over an island is not a substitute for under-cabinet task light where you're actually chopping vegetables.
Accent light is where personality lives - wall sconces, picture lights, a dramatic floor lamp in a reading corner. It's the layer most homeowners skip because it feels optional, but it's what makes a room feel designed instead of just lit.
A room with three modest, well-placed light sources will almost always beat a room with one expensive statement fixture and nothing else. Spread the budget across a few points instead of spending it all in one place.
Photo Source: Pinterest.com
Living Rooms
The overhead pot light trap is real in Vancouver living rooms, especially in newer condo builds where builders default to a grid of downlights and call it done.
Downlighting alone creates hard shadows and flat, unflattering light - not the mood you want for a room where you're supposed to relax.
Layer in a floor lamp and a table lamp at minimum, positioned so no two light sources are directly beside each other. Add a dimmer to your overhead lighting, non-negotiably - a dimmer switch is one of the cheapest upgrades that changes how a room actually feels, day to night.
I ran into this on an East Van character home last winter - huge west-facing windows that flooded the living room with flat grey light for months. Swapping to warm-toned bulbs (2700K–3000K) and layering in two lamps did more for that room than the new sofa did.
Plan light sources around where you actually sit and what you actually do there, not around how the room photographs.
Kitchens
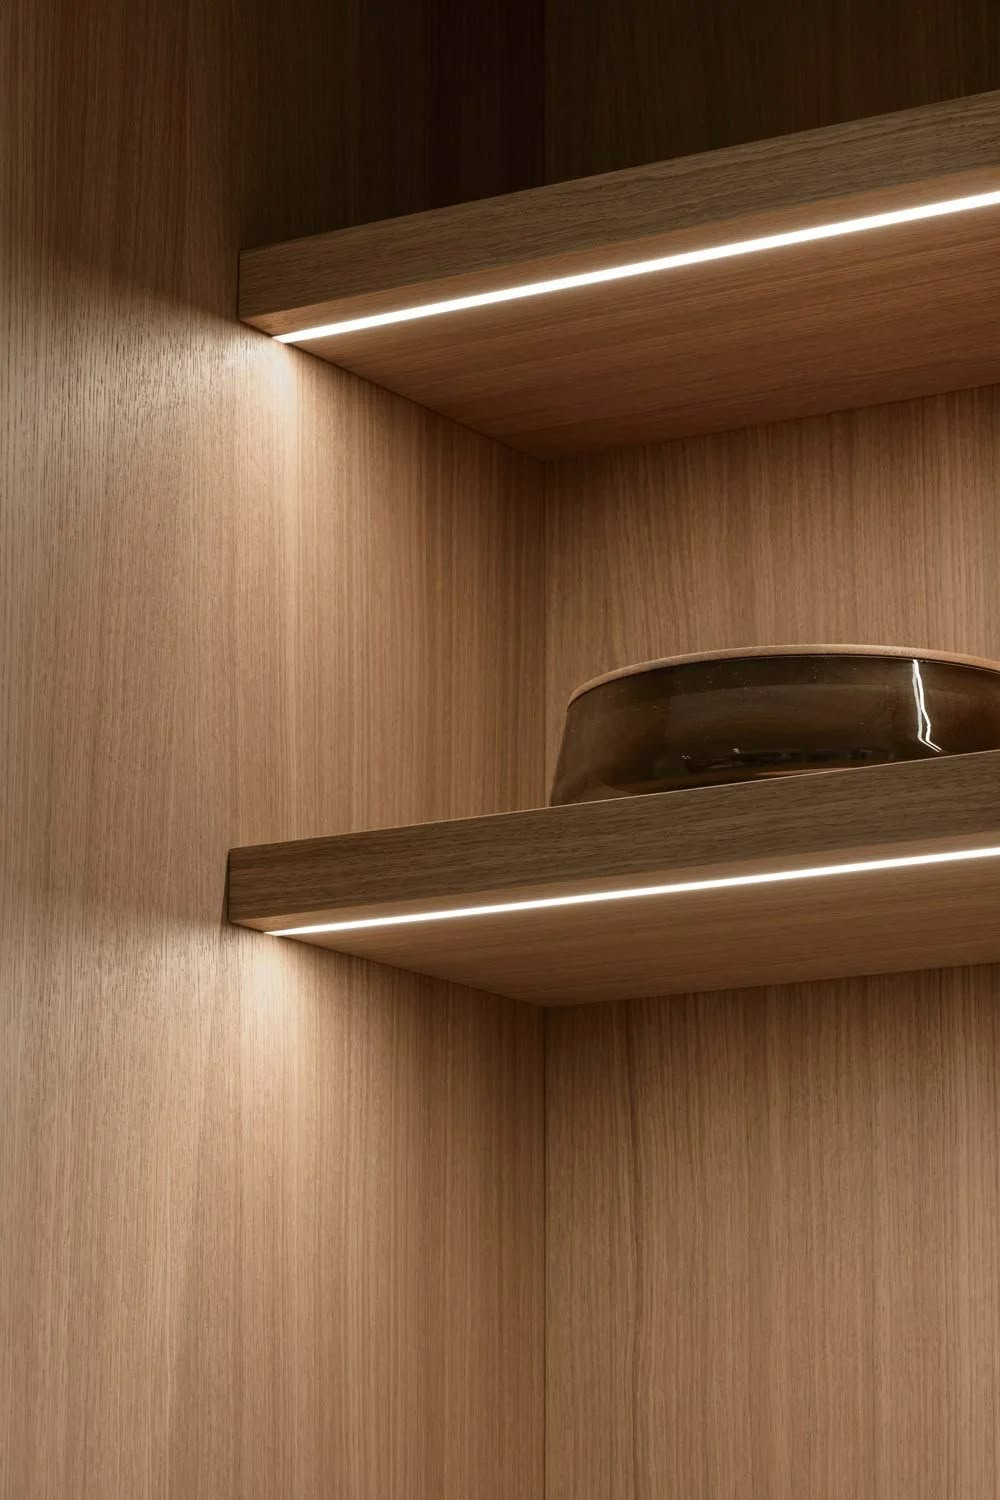
Kitchens need the most layered lighting of any room and get the least.
Under-cabinet task lighting is essential for actual food prep - without it, you're working in your own shadow every time you stand at the counter. Pendant lighting over an island should be sized to the island, not the room; undersized pendants are one of the most common lighting mistakes I see in Vancouver kitchen renovations.
Ambient light should come from recessed fixtures placed to avoid casting shadows across primary work zones - sink, stove, prep counter. West Coast Modern kitchens, with their minimal upper cabinetry, are especially prone to under-lighting the counters, so it has to be planned deliberately rather than added as an afterthought during cabinetry install.
Photo Source: Pinterest.com
Bathrooms
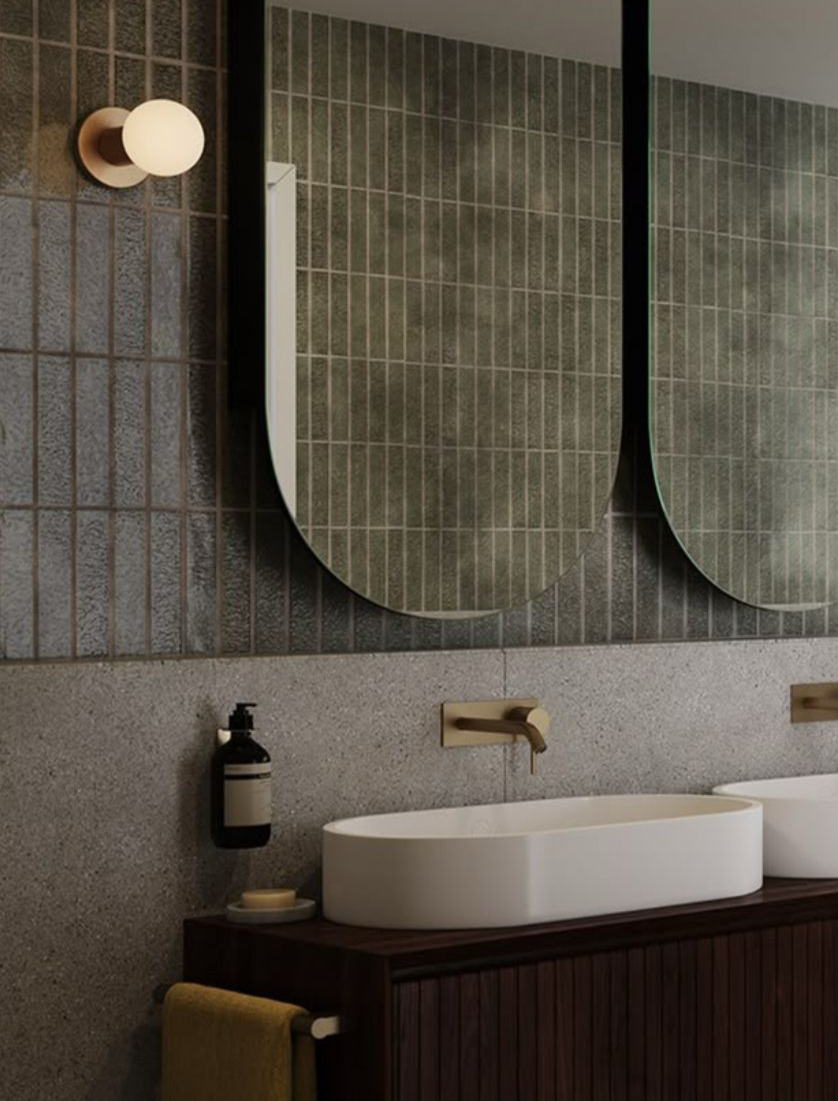
Vanity lighting is where most Vancouver bathrooms go wrong.
A single fixture mounted above the mirror casts shadows down across your face - flattering to no one. Vertical sconces flanking the mirror, at roughly eye level, solve this completely and are a small change with an outsized effect.
Wet rooms and walk-in showers need fully rated, damp-location fixtures - this isn't optional; it's code, and it's worth confirming with your electrician before fixtures are ordered. If you're mid wet-room renovation, lighting placement needs to be finalized before waterproofing goes in - it's genuinely expensive to change once tile is set.
Bedrooms
Bedrooms need the least ambient light and the most flexible task light of any room in the house.
A ceiling fixture on a dimmer covers the ambient layer; everything else should be about what you actually do in bed - reading, working on a laptop, getting ready in the morning.
Wall-mounted reading sconces free up nightstand space and eliminate the lamp-cord clutter that makes bedrooms feel unfinished. If you're furnishing a bedroom through an e-design package, lighting placement is one of the details worth specifying precisely - it's easy to get wrong and expensive to fix once fixtures are installed.
Photo Source: Pinterest.com
The Vancouver-Specific Factor: Grey Light Season
From October through April, most Vancouver homes are relying on artificial light for a significant part of the day, not just the evening.
This is where bulb temperature matters as much as fixture placement. Cooler, blue-toned light (above 4000K) reads as clinical and can make grey days feel greyer. Warmer light (2700K–3000K) reads as cozy and livable, and it's the temperature I default to in almost every Vancouver home I work on, kitchens included.
If you're not sure what temperature your current bulbs are, check the packaging or the base of the bulb - it's usually printed right there. Swapping bulbs is the single cheapest lighting fix available to you, and the first thing I recommend to clients who aren't ready for a full overhaul.
FAQ
Q: Do I need an electrician to improve my lighting, or can I DIY it?
Swapping bulbs, adding lamps, and adding plug-in sconces are all DIY-friendly. Anything involving new wiring, hardwired sconces, or fixtures in wet locations needs a licensed electrician - don't skip this for bathroom or kitchen work.
Q: What’s the single best lighting upgrade for the money?
Dimmers, followed closely by warm-toned bulbs. Both are inexpensive and change how a room feels more than almost any other single lighting change.
Q: How many light sources should a living room actually have?
Aim for at least three: ambient overhead, one floor or table lamp, and one accent source like a sconce or picture light. More is often better in larger rooms.
Q: Should lighting be planned before or after furniture?
Before, ideally - especially task lighting like under-cabinet or reading sconces, which need to align with where furniture and work zones actually land. Retrofitting lighting after furniture is placed usually means compromises.
The Bottom Line
Lighting is one of the highest-impact, most overlooked layers in Vancouver interior design - and one of the easiest to get wrong with a single overhead fixture and nothing else.
If your space feels flat, cold, or just "off" and you can't put your finger on why, lighting is worth investigating before you touch paint or furniture. Take a look at real lighting layouts in my portfolio to see how this plays out room by room.
Want a second set of eyes on your space? Book a free discovery call, and we'll talk through what your rooms actually need.
—Samena, HART HOUS